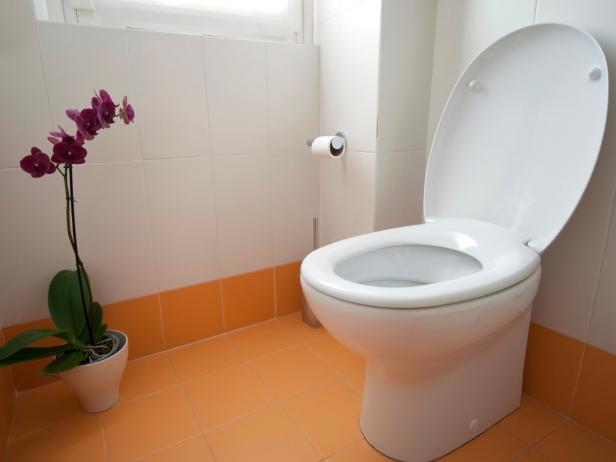

- Toilet Replacement
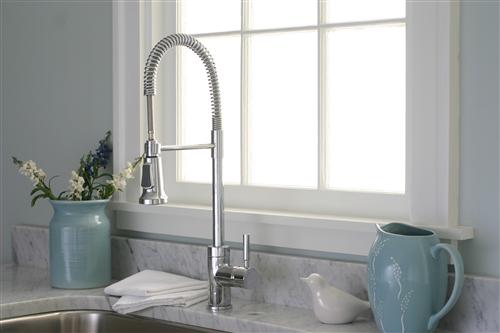
- Faucet / Sink Replacement
- Replace a Sink Base Cabinet Floor

Plumbing | TDServices – Handyman | 808-388-3425
*For additional details & review you can also visit yelp.com or my review page
SEE Below for DIY instruction about “Toilet Replacement”
STEP 1
Replacing an existing toilet is a straightforward task because the supply and waste pipes are already in position. If you want to install a toilet in a new position, it requires more complex rerouting that is best done by a professional.
STEP 2
Lay Out Rags, Newspaper & have a Bucket on standby.
Before you begin gather the right equipment. You will need newspapers or old towels to set the toilet on after you remove it. A mistakenly dropped toilet could crack a ceramic tile floor. Also, make sure the new toilet fits inside the space occupied by the old toilet. Some newer models are available in longer and larger sizes than traditional designs and may not fit within the room.
STEP 3
Drain the Water
Shut off the water supply to the toilet. After the water supply is disconnected, flush the toilet several times. Flushing repeatedly will remove the water from inside the tank and most of the water from the bowl. If there is any water left in the bowl, use a container to scoop it all out. If you leave any water in the old toilet it may leak out when you carry it through your home to dispose of it.
STEP 4
Disconnect the Toilet
Unscrew the nuts that attach the toilet to the water supply line. Then, remove the caps that cover the bolts on the base of the toilet. Unscrew the nuts located under the caps.
STEP 5
Loosen the Seal, Remove the Old Bowl & Clean the floor.
Use a utility knife to score the between the bowl and the floor and then free the toilet by rocking it from side to side. Lift the toilet away onto some old towels or newspaper. Remove the wax gasket using a putty knife or similar tool. Block the drainpipe with a rag to prevent sewer gas escaping.
STEP 6
Position the New Bowl
Insert a new wax gasket on the outlet of the new bowl. The tapered side faces away from the bowl. Double check that the toilet flange is tight and not corroded. The toilet flange helps make a tight connection between the toilet and the waste pipe. The flange sits on top of the floor and connects to a collar that fits through the floor. Historically the flange was secured in place with putty, but today there are several plastic flange gaskets to choose from.
STEP 7
Replace Wax Ring
There are also several type of wax rings. Some have a plastic insert that is used to direct water flow. A wax gasket with an insert #10 is thicker, which provides a good connection when remodeling the bathrooms in older homes or if the flange is set low. For most situations, wax gaskets without plastic inserts can provide a suitable seal against sewer gases.
STEP 8
Apply Caulk and Set
Apply a bead of caulk to the base of the toilet. Remove the rag from the drainpipe. Lower the bowl into place on top of the flange and press down.
STOP!!! What do I do If my floor is not level?
Leveling a toilet with LESS than a ¼ inch gap
Shims are a great way to level a toilet, as long as the gap is not more than ¼ inch. NEVER use wood shims. Bathrooms tend to be damp and wood shims will rot, which will cause even more problems. Clear plastic shims are available at most plumbing supply stores. You may need to loosen the hold down bolts. Insert shims until they are tight and the toilet does not rock. Take a level and place it on top of the toilet to be sure it is level. Cut off the exposed portion. Retighten the hold down bolts.
Leveling a toilet that is MORE than ¼ inch gap
Materials and Tools:
- Plastic shims
- Pencil
- Epoxy mortar
- Wax paper
- Latex caulk
- Utility knife
If your gap is more than ¼ inch, shims will not be enough. The steps below will help you to level a toilet the proper way.
Steps for leveling a toilet with more than a ¼ inch gap
- Make a pencil mark on the floor around the base of the toilet.
- Place plastic shims about 1/8 inch from the pencil line.
- Mix up a small batch of epoxy mortar. Place a continuous mound of epoxy mortar between the outside of the closet flange and inside of the pencil line, being careful not to disturb the shims.
- Place a layer of wax paper over the mortar, without covering the closet flange, and lower the toilet into place. Anchor the toilet.
- The wax ring should be seated on the closet flange and the excess mortar should ooze out around the base of the toilet.
- Wring out a damp cloth to remove the excess mortar, leaving a slight recess at the joint.
- When the mortar is set, use a utility knife with a sharp blade to trim the excess wax paper.
- Install a bead of latex caulk over the mortar at the joint between the bottom of the toilet and the floor.
Using the wax paper prevents the china at the underside of the toilet from taking the moisture out of the mortar. This will prevent your toilet and tile floor from sealing. This is important if you would need to remove the toilet later on.
Remember that if your gap is less than ¼ inch, you may be able to simply shim up the toilet. You do not have to deal with a rocking toilet anymore. Leveling a toilet is a simple DIY project that can make a difference in your bathroom.
STEP 9
Fasten Bowl to Floor
Gently tighten the washers and nuts onto the bolts. Tightening too hard can crack the porcelain.
STEP 10
Level It Out and Cover Bolts
Use plastic toilet shims if the toilet is not level. Fill the caps with plumber’s putty and place the caps over the bolts.
STEP 11
Set the New Tank
Insert the tank bolts through the base of the tank. Position the tank over the bowl and lower it gently into place.
STEP 12
Attach Tank to Bowl
Secure the nuts and washers to attach the bowl to the tank. Make sure the tank is level.
STEP 13
Put a Lid On It
When the tank is level, set the tank lid on top of the tank. Do not seal the joint between the lid and the tank.
STEP 14
Connect the Toilet
Connect the supply line between the shut-off valve and the fill valve.
STEP 15
Tighten the Compression Nut
To finish connecting the toilet to the water supply, tighten the compression nut and then open the shut-off valve.
STEP 16
Apply Caulk
Run a bead of bathroom caulk along the bottom of the toilet. This seals the joint between the toilet and the floor. Using a wetted finger, smooth the bead of caulk along the joint for a clean finish.
STEP 17
Test

Plumbing | TDServices – Handyman | 808-388-3425