


Wall Repairs & Painting
-
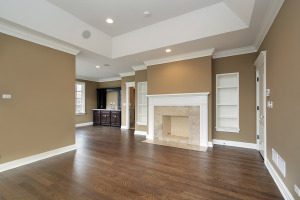
Interior & Exterior – Paints or Stains
-
Spackling and Plaster Repair
-
Caulking
-
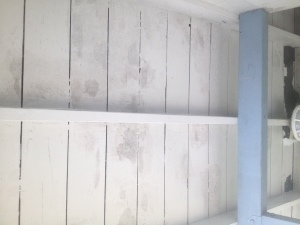
Mildew Removal
-
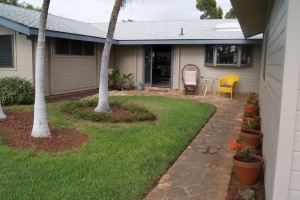
Fences, Metal Railings, Foundations, & Woodwork
-
- Painting | TDServices | 808.388.3425
-
- Painting | TDServices | 808.388.3425
-
- Painting | TDServices | 808.388.3425 *Mildew Removal
-
- Interior & Exterior Painting | TDHandyman | 808.388.3425
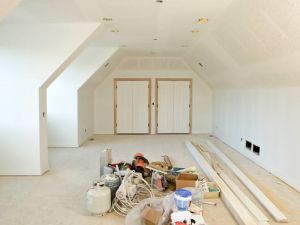
Proper prep is KEY. Wash the walls, remove wallpaper, patch, spackle, seal stains, dry and sand before you attempt to paint. Now is also the time to apply painters tape for trimming, lay drop cloths, etc. You can also buy your paint at this time. Don’t wait until the last minute. It can take hours to mix many gallons of all your colors. Remember that traffic triples at your home-supply and hardware stores on weekends. Buy on a weekday if possible.
How to Paint a Room:
- Get the tools and supplies It’s not always easy to run out to the store in the middle of dealing with wet paint!
- Clear the room of all movable items, and cover things you can’t or don’t move. If you are only painting part of the room, you’ll only need to clear or cover items in the danger zone. Paint drips downward, so anything underneath what you are painting needs to be moved or covered. Paint can also splatter sideways as you swing your tools or if you paint too aggressively. Consider the danger zone to be at least 2 meters (6 feet) horizontally from any surfaces that will be painted.
- Take the opportunity to make your walls flat. Remove any unnecessary protrusions, like nails or old paint drips. Fill large holes with self-expanding sealing foam (e.g. Great Stuff). Fill small holes with Spackle, joint compound, or wood putty. Sand the wall flat and remove bumps and ridges.
- Remove hardware (doorknobs, handles, hinges, electrical outlets, electrical switch covers, smoke detectors, doorbells, etc.) you don’t wish to paint over. For painting purposes, it’s better to remove than to mask, but masking is possible for items that you either cannot remove, don’t care that much about, or which would be wobbly if removed and re-installed in the same place. Nothing looks worse than paint on door hardware.
- Make the room dust-free. You don’t want dust to blow onto your wet paint; it will make nasty bumps.
- Carefully consider what you will be painting. Any colors you want to match exactly will probably need to be painted at the same time. Paint colors can fade over time, especially when exposed to sunlight.
- If you have mold or mildew, remove it with a mix of bleach and water (50% of each), then wash again with plain water. (SEE BELOW FOR ADDITIONAL DETAILS ON MOLD & MILDEW) Some molds can be very hazardous. Use of a filter mask is recommended. Be sure the room is kept dry enough to prevent future mold growth. Some primers and paints are mold and mildew-resistant. Some primers and sealers are specifically marketed to deal with stains.
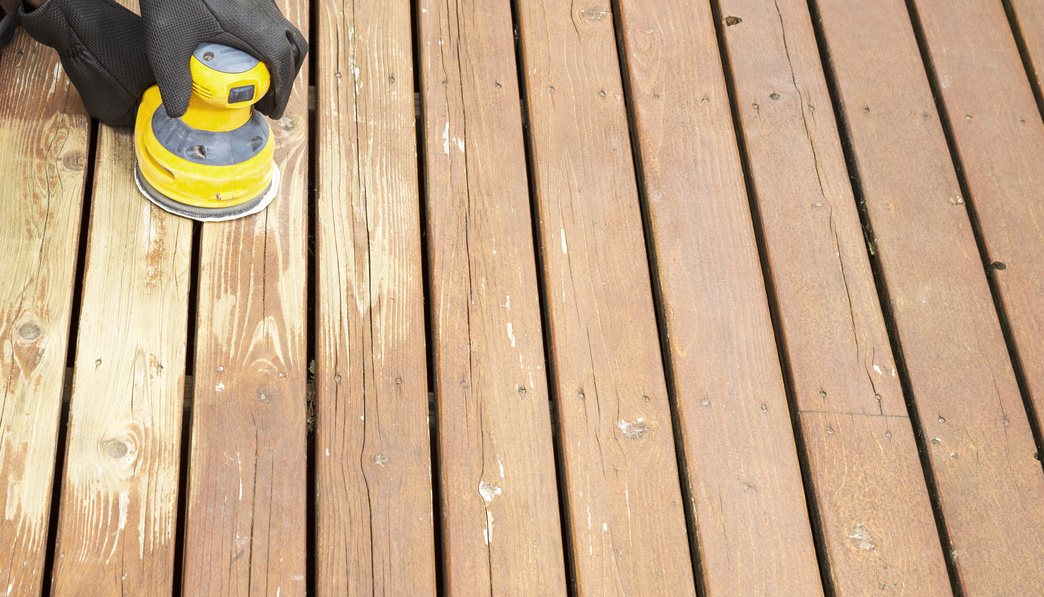
- Prepare the surfaces to be painted. They must be completely clean of dust, spider webs, etc., and also completely dry. You should be able to wipe the wall down with a sponge without having anything come off. If there is existing paint that is chipping, it will need to be scraped off with a metal brush or paint scraping tool. Otherwise, your new paint job will also soon start to flake off.
- Remove any grease on the walls. Use a household detergent or a light acid. Trisodium phosphate (TSP) is one widely available cleaning product that is effective at breaking down dirt, grease, and oil on walls.
- Read the can before starting, so you know how long it will take to dry.Paint drips may obscure the label later. This will also help you know how long the job will take, so you can schedule appropriately.
- Apply your masking tape to the edges of areas that will not be painted (cabinets, windows, woodwork, floor, ceiling, etc.)
- Make sure the tape is straight. The edge you lay down with the tape is the edge you will get in paint. A small error (especially if the wrong color is on the wrong surface) might be very noticeable later.
- Push down hard on the edge of the masking tape nearest the side that will be painted, to prevent bubbles that could allow paint to seep under the tape.
- It’s almost certainly less annoying to use masking tape than to “be very careful” around the edges. It is nearly impossible to avoid accidentally getting paint in the wrong place, and it is difficult to wipe up an accidental smear when it’s very close to a large area of wet paint without getting more paint on yourself or other inappropriate surfaces.
- To keep paint from bleeding under the tape, you can first “seal” it by using either a clear glaze or paint of the same color of the surface behind the tape. You will then need to paint over this sealing coat with the desired color on the surface being painted. This will produce a very crisp line when you remove the tape.
- Some surfaces (such as loose plaster or old wallpaper) will be damaged by masking tape. You will need to wipe stray smears, or hold a newspaper or other flat, non-stick object in the right place. Wide plastic blades are sold in paint departments for this purpose. If one surface is heavily textured, you may need to do the border freehand with a good paintbrush. Hopefully this will be in an area where it is difficult to notice small errors (such as high above, out of direct sight, or very low to the floor).
- Deploy your drop cloth, making sure all areas in the danger zone are completely covered. It’s important to take this step seriously; it will be more difficult if not impossible to clean up drips later. You may wish to tape your drop cloth to the floor. Masking tape does work on carpets.
- Prevent tracking of paint into other rooms. Wipe your feet thoroughly before leaving the room, or use additional drop cloths in other rooms.
- Priming: Priming is mandatory if you are painting over any non-paint surface, like drywall, unpainted wood, metal, spackle, wood putty, ink, crayon, mold stains, or even oil paint. This water-seals the surface and also provides a layer that paint can stick to. Water-based paint will not stick to an un-primed layer of oil-based paint. Putting down white primer is a good idea when painting a light color over a dark one, but consider getting your primer tinted if you are painting a dark color over light. You probably don’t need primer when repainting, if the older paint is of the same type and not too old. However, you should use a primer if the existing paint is very shiny, as new paint layers do not adhere as well to a glossy finish. Consider a bonding primer for high-gloss walls. When in doubt, use primer! Some specialty paints are self-priming, which may or may not save time depending on the number of coats needed.
- Paint! Paint! (See “How to prime and paint”.) Add as many coats as it takes to make the surface look nice. Higher quality paint often requires fewer layers for an even color.
- Remove masking when finished. Pull the tape off the wall at a 90 degree angle for a clean edge. You may need to re-mask if you are using more than two coats; otherwise, the paint layers may tear in a jagged fashion instead of being cut cleanly by the tape. You can wait until the paint is dry before removing the masking (this is not necessary if you are careful), but for the best cut, don’t wait longer than 24 to 48 hours. If the paint has completely dried, the tape will be difficult to remove and may pull paint from the wall underneath.
- If you had paint bleed under your masking tape, you can take a very small paintbrush (typically sold at art stores) and very carefully touch up the lines. The result will probably not be as good as a good masking job, but it will make errors less noticeable.
- If you accidentally splattered the wrong color in certain areas despite your careful masking and covering, touch them up with a brush and some extra paint of the right color, being careful not to splatter yet again.
- Wait until paint drips are dry before removing your drop cloths.
- After the last coat is completely dry, replace any hardware you removed.You may wish to purchase new hardware that matches your new paint colors. If your electrical outlets, covers, and switches are discolored or no longer match, replacements are relatively cheap and easily installed.
- Clean up! Ensure all your materials are cleaned and properly disposed of.
- Breathe & enjoy
FYI: Prime. Dark colors, stains (once sealed), and previously unpainted surfaces (drywall, spackle, etc.) will need a primer coat, usually white. NOTE: most paint stores & home improvement centers will now tint primer (at no charge) to match fairly close to the color of the finished coat, that way two coats of primer need not be applied. Although not all surfaces need a prime coat, skip this step at your peril! Dark colors will likely show through the first — or even the first couple— topcoats of paint. Sealants and unpainted surfaces like spackle patches will absorb or repel moisture in a topcoat at a different level than the areas surrounding them. Applying a good primer coat will help even out these differences. Primer equalizes a wall to a uniform surface. It’s like erasing a canvas before drawing a new picture. Although some will argue the point, you generally don’t need to spend a great deal on primer or buy special primer. A cheap, 5 gallon (18.9 L) bucket of plain, flat white paint will usually do the trick and cover a large area. Give your primer at least 24 hours to dry (follow its instructions) before applying a topcoat.
*For additional details & review you can also visit yelp.com or my review page
*Call For Estimates | 808.388.3425 |trevor.drinen@gmail.com
*Services include: pressure washing, painting, light carpentry, light electrical, landscaping, minor roofing, & masonry
*Additional services: IT, Web Design, Networking, Email, Domain Setup, Mac / PC / Mobile Devices