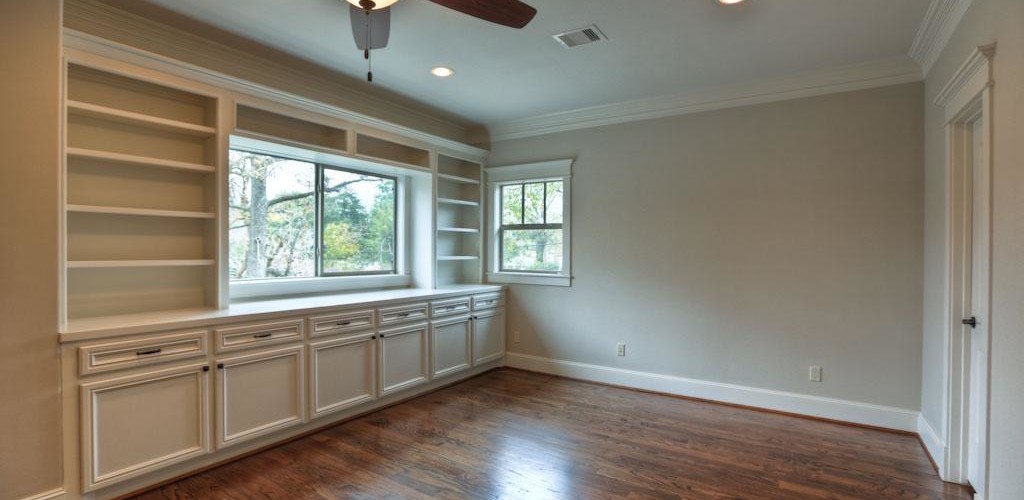
A subfloor provides the base for a floor covering. It is applied over the main floor structure, although in some cases the floor itself can provide the necessary base for the floor covering. The most common subfloors are made of ply, which is laid on a wooden floor, hardboard (also laid on wood), and self-leveling compound (on a concrete floor).
Find out what subflooring material works best with a variety of flooring, then learn how to install it.
TOOLS
- large brush
- plastering trowel
- power stirrer
- sanding block
- knee pads
MATERIALS
- white glue
- border for threshold
Choosing a Subfloor
Existing Floor: Wooden
Suitable Subfloor: 3/4″ plywood
Suitable Flooring: Hard tiles
Existing Floor: Wooden
Suitable Subfloor: 3/4″ plywood
Suitable Flooring: Soft flooring
Existing Floor: Wooden
Suitable Subfloor: Uncoated plywood
Suitable Flooring: Soft tiles, or clip-together flooring
Existing Floor: Wooden
Suitable Subfloor: Plywood or OSB
Suitable Flooring: Carpet, or vinyl sheet, or floating wooden floor
Existing Floor: Concrete
Suitable Subfloor: 3/4″ plywood or 2x4s
Suitable Flooring: Any material
Laying a Subfloor for a Wooden Floor
There are two options for a wooden floor: plywood and OSB. The information below will help you to choose the most suitable for your needs. A subfloor may raise a floor’s height and stop a door opening smoothly. Do not trim a door until after you lay flooring: it may be possible to hide a slight step between rooms with a threshold strip.
Choosing to Use Plywood
Use thick plywood as a subfloor for hard tiles, and thinner ply to provide a smooth surface for soft floor coverings such as vinyl, carpet, and soft tiles. Large sheets are ideal for large rooms, because they cover the surface quickly and with fewer joints. The order in which boards are nailed down is not important, except that joints between rows of plywood boards should be staggered to avoid long joints.
Laying Plywood
Decide what type of floor covering you wish to use before laying plywood, because stability and compatibility for the type of floor covering is essential. Before buying plywood, check that it is suitable as a subfloor. If it is not, it may expand or contract, depending on humidity, leading to lumps and bumps in the floor. To avoid unevenness, ensure that the plywood is securely screwed down. Plywood is available in large sheets, at a standard size of 4′ x 8′. Use a jigsaw for a curved cut, and make straight cuts as shown below.
Making a Template for Cuts
Make a paper template of any complicated areas, and trace a guide line along which to cut. Use a sheet of paper cut to size, positioned exactly where the board will be placed. Use a jigsaw to cut the board.
Cut slits along the edges of a sheet of paper. Press these slits against the obstacle, and crease them sharply around its shape.
Cut along the creases to create a template. Lay the paper on a board, use the cut edge to draw a line, and cut along the line.
Cutting 1/4-inch Luan Plywood
To cut a straight line in luan plywood, first use a utility knife to score the smooth side of the board.
Take care not to let the blade slip. Turn the board over, and lay a straight edge (such as a meter ruler) along the scored line. Snap the board along the scored line. Separate the two pieces and neaten the cut edge with a utility knife
Laying a Subfloor for a Concrete Floor
Self-leveling compound is a latex-based product which provides a very smooth subfloor. It is needed only if a concrete floor is in poor condition. Despite the name, some smoothing is needed for the best surface. The floor may be raised by the subfloor and flooring, so you may need to trim the lower edge of a door after laying flooring.
Preparing the Surface
Thoroughly clean the floor. Do not lay compound over any residual bitumen-based products from a previous covering. Prime a dusty surface. Attach a threshold strip across the doorway so that compound does not run into the next room.
Mixing the Compound
Use a spotlessly clean bucket, because any impurities will affect the mix’s integrity, and use a power stirrer to mix slowly, to avoid introducing too much air. Self-leveling compound sets relatively quickly, and will remain workable for no more than 30 minutes. Follow the steps shown for one bucket-load, and immediately mix and lay the next bucket while the wet edge is still workable. The coverage from a bag of compound depends on how thickly it is laid.
Laying Ply
Sweep the floor, and check that all screws or nails sit below the surface. Drive in or countersink any protruding fixings, ensuring that they don’t go right through the floorboards and into any cables or pipes beneath them.
Check whether any floorboards are loose. If they are, screw them down securely, because a subfloor must be laid on a rigid floor surface.
Pick a corner that is as square as possible for your starting point, and lay the first board . Use grab adhesive for extra rigidity.
Use ring-shank nails every 6 inches around the edges of the board. Nails should go into floorboards but not through them. (An alternative to nailing thin ply is to use a staple gun)
Apply nails every 6 inches in a grid across the center of the board, as well as around the edges, to keep the subfloor level and firm.
Butt-join boards tightly. Continue laying boards. If boards need cutting to fit, use a panel saw for straight cuts, and a jigsaw for templated cuts.
Laying Hardboard
Prepare the floor by sweeping and leveling it as shown for laying ply. If possible, choose a square corner in which to start laying boards. Stapling is the quickest way of securing hardboard, although ring-shank nails can be used. Position fixings at 6-inch intervals. Fix nails at 6-inch intervals in a grid across the floor surface
Butt the second board hard against the first. When placing boards, keep them as neatly aligned as possible, so that later rows fit easily into place.
Work across the room in rows, staggering the joints between boards on subsequent rows.
Using Self-Leveling Compound
Block the threshold. Mix the compound, as detailed in the manufacturer’s instructions, and pour it onto the floor.
Use a plastering trowel to spread the compound evenly across the surface, removing any peaks and redistributing it into depressed areas. Lay 1/8 inch deep.
Mix and lay further compound until the floor is covered, smoothing it in with the damp edges of previously poured areas. Leave the compound to dry overnight before walking on it. Then use a medium grade of sandpaper to remove any ridges that were left by the trowelling.
.


